There is an easy way to make a business listing website like Yelp or Yellow Pages. You’re in the right place. This guide shows you how to use WordPress, the most popular website builder in the world, to make a fully functional business listing. If you don’t know much about technology, you don’t have to hire a big team. I will describe everything in simple terms as we follow a real life tutorial based on this video.
By the end, you’ll know how to make a website directory where people can look for local businesses, browse listings by topic, get in touch with vendors, and even add their own listings for free or for a fee. Now let’s begin.
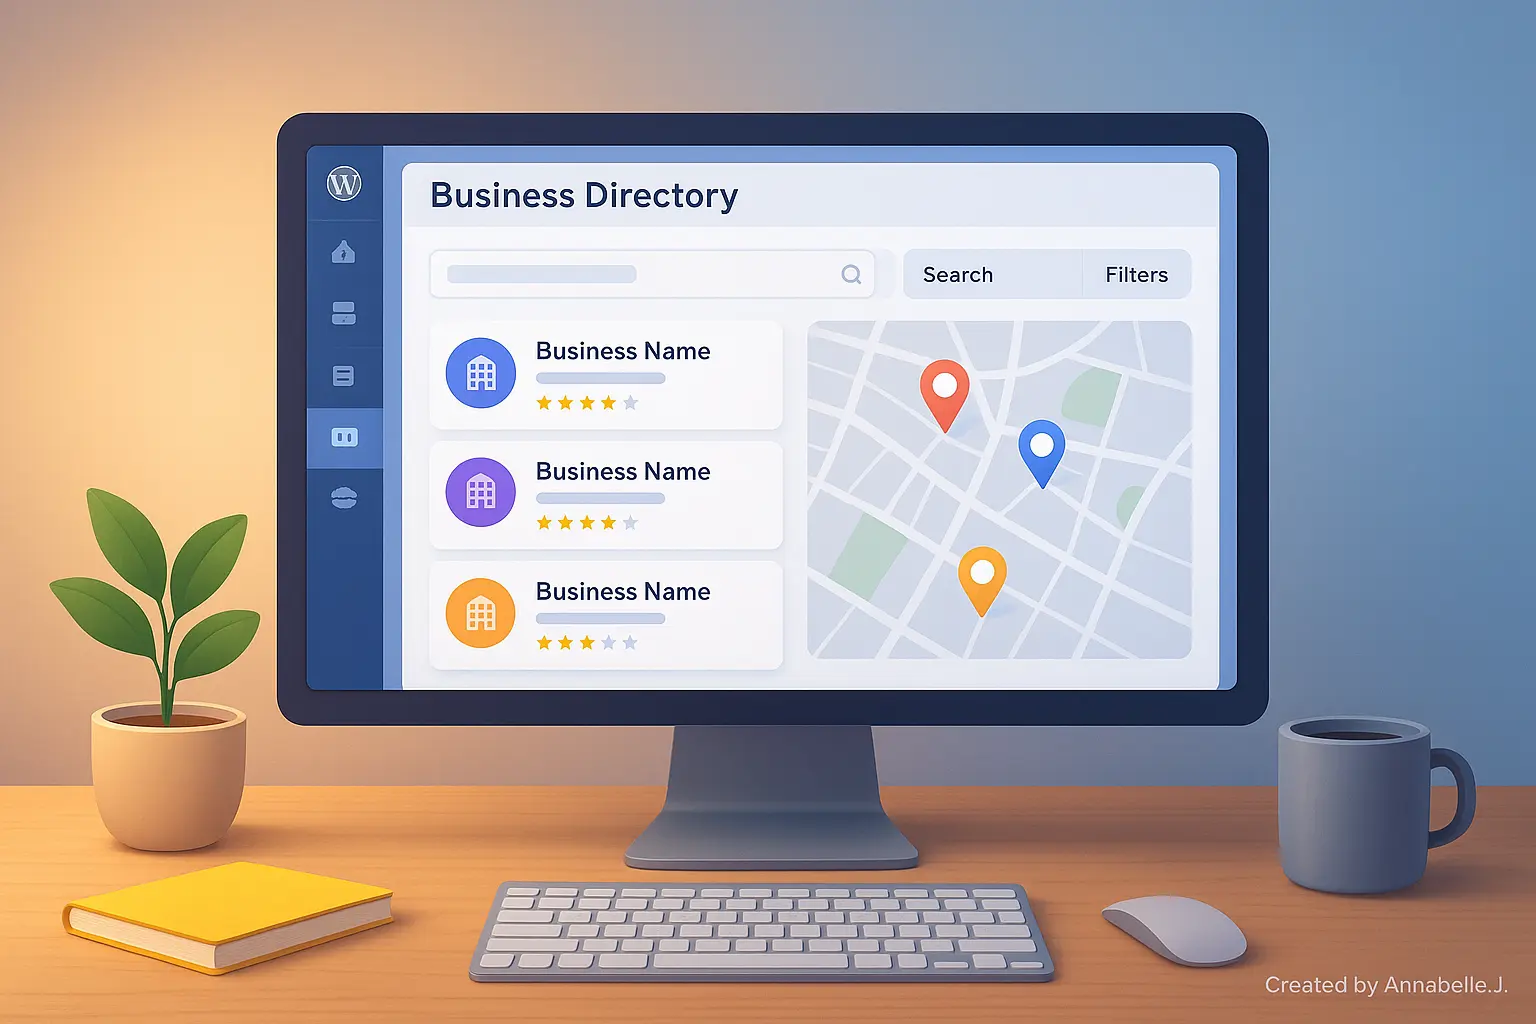
What exactly is a business directory website?
A business index website is a list of businesses that can be searched and where they can show off their services. It’s sort of like an online map with phone numbers, pictures, and reviews from other users. Users who want to find shops, restaurants, services, or pros in their area can do so in one place.
Why would you create one?
- Your paid listings and promoted ads can bring in a lot of money without you having to do anything.
- By supporting local businesses, it brings people together in the neighborhood.
- You run the platform and decide how it should grow.
Step 1: Make a plan for your directory website
- Local companies in your city.
- A niche market, such as dental offices, auto mechanics, or wedding providers
- A list of services, such as freelancers, agencies, and teachers
Also, think about this:
- Who are the people you serve?
- Will you be charging for listings?
- Will you let basic listings be free with choices to pay more?
How your site looks and works will depend on the answers you give.
Step 2: Acquire a domain name and hosting.
A domain name, such as yourdirectory.com, and a server plan are two things that every website needs.
Select a domain name:
- It is short and simple to remember.
- Ideally .com, or use .ph if you’re targeting the Philippines
Hosting suggestions:
Use a reputable server that works well with WordPress, such as:
- SiteGround
- Hostinger
- NameHero
- Bluehost
Most of them give away free SSL certificates, which make your site safe (https://). To save time, pick a plan that lets you install WordPress with just one click.
Step 3: Set up WordPress
Go to your hosting account and install WordPress once your hosting is up and running. Most sites make this easy to do with just one click. Be careful when you set up your master username and password, and keep them safe.
You can get to your site at yourdomain.com/wp-admin after downloading it.
Step 4: Install the ListingPro Theme
ListingPro is a premium WordPress theme made just for directory websites that is suggested in the YouTube guide. It has everything you need—maps, search filters, ad submission forms, payment integration, and more—so you don’t need any other plugins.
- Buy the theme from ThemeForest.
- Download the ZIP file.
- In WordPress, go to Appearance > Themes > Add New > Upload Theme
- Upload the ZIP file and click install.
- Activate it.
ListPro has a trial import tool that you can use with just one click. This lets you load a site plan that has already been made right away.
Step 5: Import Demo Content.
You’ll be asked to install some necessary apps after turning on ListingPro. After that, you can bring in a demo layout:
- Press ListingPro > Import Demos.
- Pick the demo that works best for your area (local, business, services, etc.).
- Click on Import.
Hold on for a while for everything to load. When you’re done, you’ll see a sample directory website that is fully built and has search, ads, maps, and categories.
Step 6: Make your website’s identity unique:
Site Identity:
- Go to Appearance > Customize
- Change the title and tagline of your site.
- Put your favicon and logo here.
Menus:
- You can set up your header and footer options in Appearance > Menus.
- Link to pages like Home, Categories, Contact, Add Listing
Colors and Fonts:
You can change color schemes, fonts, and layouts in the Customizer.
Remove Dummy Content:
Replace the text, photos, and demo listings with your own.
Step 7: Establish Categories and Listings
Add Categories:
In WordPress, go to Listings > Categories and add types of businesses like
- Restaurants
- Auto Services
- Real Estate
- Doctors
Add Listings.
Go to Listings and click on “Add New.” Fill out:
- Title (Name of the Business)
- Description
- Address and a picture of the area
- Contact information (website, email, and phone)
- Working hours
- Picture and logo gallery
- Categories and tags
You can manually upload listings or allow users to submit them through the Submit Listing form.
Step 8: Set up the features for listing
ListingPro comes with strong tools like:
- Search Filters: Customize what people can search for with search filters, such as location, keyword, category, and more.
- Map View: Add Google Maps to Map View for visual browsing
- Reviews: Let people rate and comment.
- Claim Listings: Business owners can claim entries that are already there.
- Dashboard: People can sign in and change their posts
ListingPro > Theme Options lets you change all of these things.
Step 9: Allow listing payments
To start making money:
Go to ListingPro > Plans > Prices:
Make different packages for showing things like
- Free Basic
- Featured Monthly ($9.99)
- Premium Annual ($99)
The following can be part of each plan:
- Show on homepage
- Appear on top of category
- Priority support
Payment Setup:
- PayPal
- Stripe
- Bank Transfer
To set up payment channels, go to Theme Options > Payment Settings.
Step 10: Establish Submission Forms and Contact Page
Contact Page:
You can make a contact page with a map and message box by using the contact form that comes with the theme or by installing a tool like WPForms.
Listing Submission
Make a form on the front end that business owners can use to sign up and add their information.
Step 11: SEO and mobile optimization
A lot of people will visit your site on their phones. ListingPro is already mobile-friendly, but you should still do these things:
- For on-page optimization, put Rank Math SEO or Yoast SEO on your site.
- To shrink pictures, use Smush or ShortPixel.
- Caching should be turned on (with plugins like WP Rocket or LiteSpeed Cache).
- Send Google Search Console your site and add an XML file.
Step 12: Maintenance and Growth
You can’t just leave a listing website alone and forget about it. You need to:
- WordPress, themes, and plugins should be updated often.
- Control the listings and reviews that users post
- Add new listings manually if necessary.
- Spread the word on social media and in your community
- To get people to your blog, write stories that use local search terms like “Best salons in Manila” to attract visitors.
Step 13: Promoting Your Website
It’s time to market your site once it looks good and works well.
How to do it:
- Spread the word on LinkedIn and Facebook groups
- Join groups or directories and list your site there
- At launch, give businesses free ads to get them to sign up
- Use Google or Facebook ads to get people to your site
- Send an email to nearby companies and ask them to join
To see what’s working, make sure you have data (like Google data or Plausible) set up.
Step 14: Final Launch Checklist.
✅ WordPress updated
✅ All dummy content removed
✅ Listings categories properly set
✅ SEO plugin installed
✅ Submit listing page working
✅ Payment tested
✅ Contact form functional
✅ Site speed optimized
✅ Mobile responsiveness tested
As soon as everything is green, go live!
Need Help? We’ve Got You!
If all this sounds exciting but also a little overwhelming, don’t worry—we can help.
We’re a web design agency called Preet Web Vision and we specialize in building WordPress sites just like this one. If you’d rather let experts handle everything, reach out to us.
📧 Email: hello@preetwebvision.com
📞 Phone: +63‑9633112000
🌐 Website: Preet Web Vision
And don’t forget to follow us on YouTube for more free tutorials:
▶️ Preet Tech Ideas
▶️ Preet WebXP
Thanks for reading—and good luck with your directory website journey!
If you want to take your directory site to the next level, don’t miss Master the Art of Directory Websites with the Listeo Theme. You’ll also love Top 3 WordPress Directory Themes (Fast, Modern & Easy to Use!) for quick, modern options to get your site running in no time!