The Directorist plugin is one of the best tools you can use in 2025 if you’ve ever wanted to make your own directory website, like a local business listing site, a real estate directory, a service marketplace, or even a classified site. The best thing? You don’t have to be a tech expert, a developer, or a designer. When you go through Directorist step by step, everything seems surprisingly easy.
I’m going to show you the whole process in today’s guide, just like I did in the video tutorial. Don’t worry if you’re just starting out; I’ll explain everything in a way that makes sense and isn’t too hard to understand. If you already know how to use WordPress, this will help you set up your directory project more quickly and easily.
Before we get started, here’s the video version that you can watch whenever you want:
What is Directorist, and why is it great for 2025?
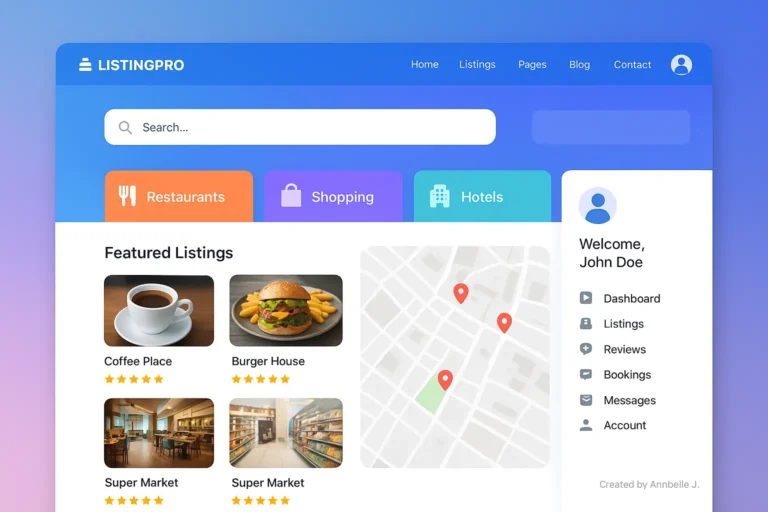
Directorist is one of the most modern and adaptable plugins for building directories on WordPress. It has grown into a full set of tools that let you build:
- Local business directories
- Classified listing sites
- Real estate directories
- Travel and tourism directories
- Job boards
- Service provider marketplaces
- And even custom niche listing sites
In 2025, the plugin is special because of:
- Clean, lightweight performance
- Modern UI and templates
- Tons of integrations (Elementor, Gutenberg, WooCommerce, Google Maps, Payment Gateways)
- Beginner-friendly setup
- Scalability—you can start small and grow big
That’s why so many people who are new to WordPress like Directorist better than older, heavier directory solutions.
How to Install Directorist (Easy Setup)
Let’s start with the basics.
Step 1: Get to your WordPress Dashboard
From your WordPress site, Click on “Add New” under “Plugins.”
Step 2: Look for “Directorist”
In the search box, type “Directorist.”
It’s the one with the blue icon that looks clean.
Step 3: Install & Activate
To install, click Install. Then, click Activate.
When you turn it on, a new section called Directorist will show up in your WordPress sidebar. This is where all the magic happens for your directory.
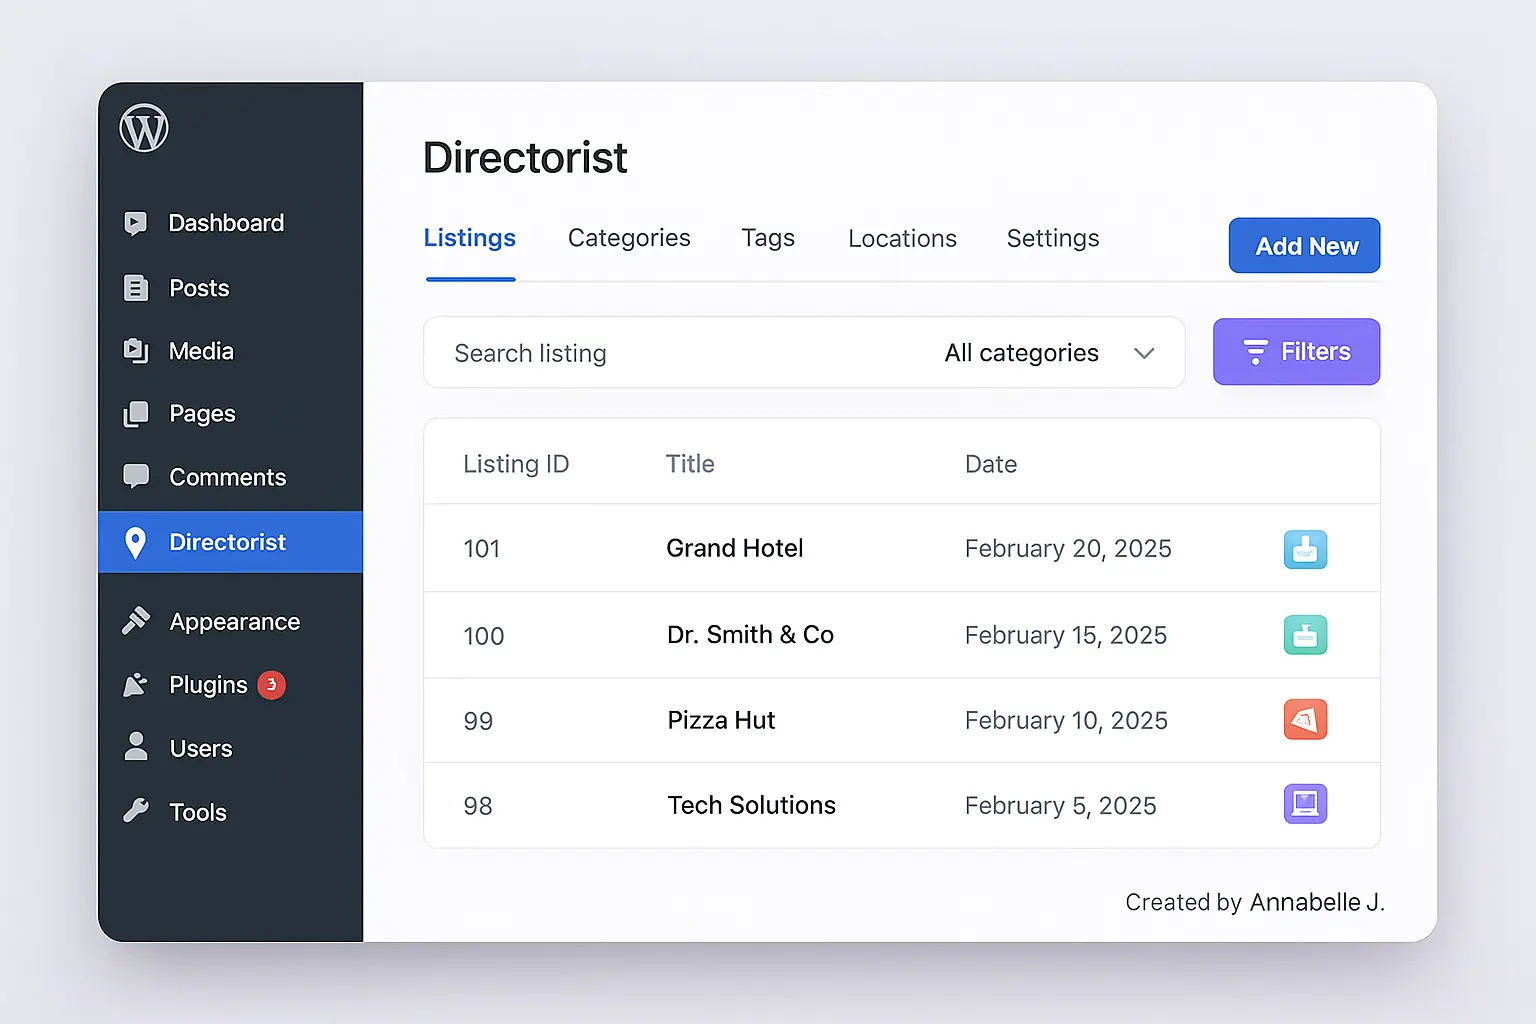
How to Use the Directorist Dashboard
When you first open the plugin, the main dashboard will show you:
- Listings: all the things that have been sent to your directory
- Tags and categories help you keep track of your listings.
- Locations—great for directories based in cities or regions
- Directorist Settings lets you set rules for design, layout, submissions, payments, and more.
- Extensions are optional extras that add more advanced features.
The layout is very simple in 2025, and even people who are new to it can use it without getting lost.
How to Make Your First Directory Listing
This is where Directorist gets interesting.
Step 1: Click on Listings and then Add New.
You’ll see a clean form that lets you add:
- Title
- Description
- Category
- Tags
- Location
- Images
- Business hours
- Contact info
- Pricing (if applicable)
Step 2: Add a picture that stands out
Always include a clean, professional picture. It greatly increases trust in users.
Step 3: Give More Information
You can also add:
- Social media links
- Map location
- Email / phone
- Gallery
- Opening hours
- Website links
- Custom fields (super helpful in 2025!)
Step 4: Publish
When you hit Publish, your listing goes live right away.
Making categories and locations for directories
This is an important part because your directory needs to be organized.
Categories
Go to Directorist → Categories and make things like this:
- Restaurants
- Hotels
- Doctors
- Real Estate
- Tourist Spots
- Plumbers
- Salons
Make them clean and simple.
Locations
If your directory is based on location, add:
- Cities
- Provinces
- Regions
- Countries
These locations let users filter, which makes the user experience much better.
Putting the Directory on Your Website
It’s time to show off your categories and listings once they’re ready.
Just make a new page in WordPress:
Step 1: Click on Pages and then Add New
Give it a name like “Business Directory,” “Listing Portal,” or something else.
Step 2: Add the Directorist Shortcode
Directorist automatically adds a shortcode like this:

Paste it into your page editor.
Step 3: Make the Page public
Your directory is now live, and it looks great—clean, polished, and ready to use.
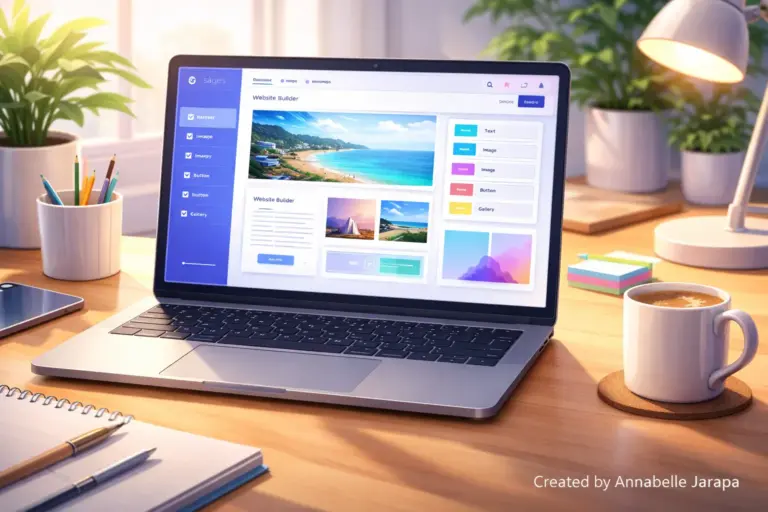
Changing the layout of the directory (2025 choices)
Directorist’s customization options are stronger than ever.
Go to: Settings in Directorist
You can change the following here:
- General settings
- Listing submission settings
- Search & filter design
- Map configuration
- Styling options
- Page layouts
- Single listing templates
- Email notifications
- Payment settings
Make sure to change:
1. Layout of the Page
You can choose between a grid or list style.
The grid layout looks much better for 2025.
2. Search Bar
Change fields like:
- Keyword
- Category
- Location
- Price range
3. Colors and Style
You can match the colors of your brand (this is very important for trust and recognition).
Enabling Front-End Submissions
If you want users to submit their own listings (which is the main point of most directories), turn on:
Go to Directorist > Settings > Submission
Here you can allow:
- Guest submissions
- Registered user submissions
- Listing approval requirements
- Custom submission forms
This lets you decide exactly how users can use your site.
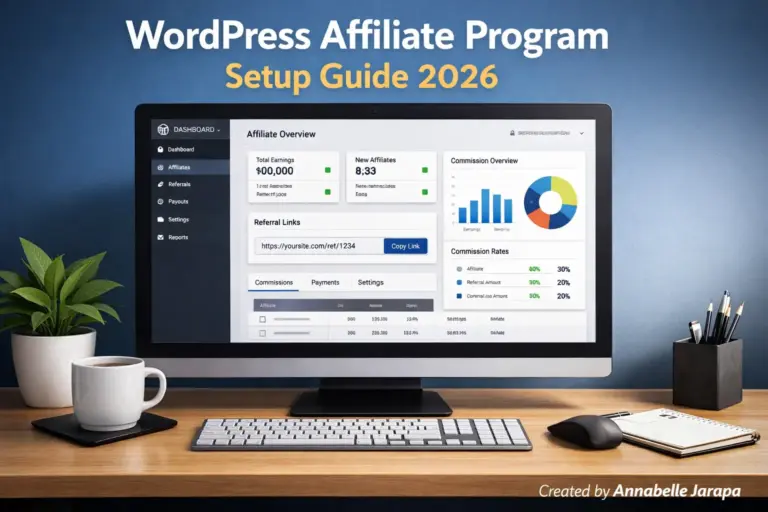
Making money from your directory in 2025
You can make money in a number of ways with Directorist:
- Paid listings
- Featured listings
- Subscription plans
- Pay-per-listing
- Promotions & badges
Just go to:
Directorist → Pricing Plans
Create plans like:
- Plan for Free
- Normal ($5–$20)
- High-end ($30–$100)
You can also connect:
- PayPal
- Stripe
- WooCommerce
This changes your directory into a company.
Using Directorist with Page Builders like Elementor and Gutenberg
You can see in the video how easy it is to use Directorist widgets to make pages.
Using Elementor
Directorist lets you add your own widgets, like:
- All Listings
- Search Bar
- Categories
- Locations
- Registration
- Submission Form
This gives you the ability to drag and drop.
With Gutenberg
There are blocks for everything.
The result? Your directory pages will look new, clean, and exactly how you want them to.
SEO Advice for Directory Websites in 2025
When optimized correctly, directories can rank very well.
These are the most important things:
1. Use URLs that are clean
Example:
Yourwebsite.com/listing/pizza-hut-manila is an example.
2. Make listing titles better
Suggest that users use descriptive titles like “Brew Haven Café: The Best Coffee Shop in Cebu.”
3. Include detailed descriptions
More content means higher rankings.
4. Turn on Schema Markup
This is automatically supported by Directorist, which helps SEO.
5. Hosting that is fast
SEO is hurt by a slow directory.
If you need help making your site run better, you can always contact Preet Web Vision.
Preet Web Vision can make a full directory site for you, from setup to design to making money.
- Website: Preet Web Vision
- Phone: +63-9633112000
- Email: hello@preetwebvision.com
YouTube Channels
If you’re looking for:
- A complete setup of the WordPress directory
- Changing the theme
- SEO improvement
- Faster speeds
- Installing a plugin
- Plan for making money
We’re here to help.
Last Thoughts
The Directorist plugin is still one of the easiest and most reliable ways to make a modern directory website in 2025. You can set up a professional looking directory in just a few hours with its easy to use interface, customizable options, and simple setup.
Leave a comment if you have any questions or want to tell me how your project is going. I’d love to hear what you are making!
You can watch the whole video tutorial at this link: https://www.youtube.com/watch?v=n9d9IJ_BLmM
It shows you how to do each step in real time, so make sure to watch it all the way through.
Have fun making your directory! Preet Web Vision is always just a message away if you need help.
You may also find these helpful: